Python ISS Google maps part 3
Now the next steps are to develop the mini-biography sections below the map.
As I’m not an expert on HTML or CSS I did a lot of googling around to find my solution. Where I ended up was using the flexbox feature from CSS. Which responsively changes how the content looks on the page without hard coding how the columns will look like.
This is the result I got:

This is the basic structure of how I want bottom half of the page to look. The column headers will be the astronauts' name and the text below is their biographical information from Wikipedia from earlier.
The basic html code is below:
<div class="flex-container">
         <div> <h1>test</h1>Lorem ipsum dolor sit amet,  …..</div>
         <div> <h1>test</h1> Lorem ipsum dolor sit amet,  …..</div>
And CSS:
.flex-container {
        display: flex;
       }
Now we have the basic structure down we need to replace the placeholder texts with flask variables so information from the previous script can be pasted.
To change the column headers I imported the list of astronauts names from the previous script. Then changed the heading text to a variable containing list and the chosen index:
<div> <h1>{{ Names_of_austronuts[0] }}</h1>Lorem ipsum dolor </div>
 <div> <h1>{{ Names_of_austronuts[1] }}</h1> </div>
<div> <h1>{{ Names_of_austronuts[2] }}</h1> </div>
The changes in the web page are shown below:

Now we need to replace the placeholder text below to headers.
Doing something similar, I created list of the Wikipedia summary of the astronauts. The returned the list with a chosen index in the template. Like below:
<div> <h1>{{ Names_of_austronuts[0] }}</h1> {{ desciptions[0] }} </div>
<div> <h1>{{ Names_of_austronuts[1] }}</h1> {{ desciptions[1] }} </div>
<div> <h1>{{ Names_of_austronuts[2] }}</h1> {{ desciptions[2] }} </div>
The results on the web page are below:

Later on, sent a bit more time editing the CSS code so items in flexbox can change to a better size and text to be more aligned.
Current code right now:
flex-container {
        display: flex;
        margin: 5px;

       }
       .item {
         padding:10px;
         flex: 1 1 0px;

       }
Result:
I want to add images of the astronauts on top of the Wikipedia description. Also, I need to link the sections to the Wikipedia page and assign Wikipedia credit on the website.
To get images of the astronauts from Wikipedia we need to use the API from earlier to fetch the links. Create a list were links are stored and can be used in the template. To get link we need the API to load the page then select the images.
I append them like this:
links_for_images.append(wikipedia.page(every_person.images[0]))Then added images tags to the template like this:
<img src="{{ Links[0] }}" alt="">
<img src="{{ Links[1] }}" alt="">
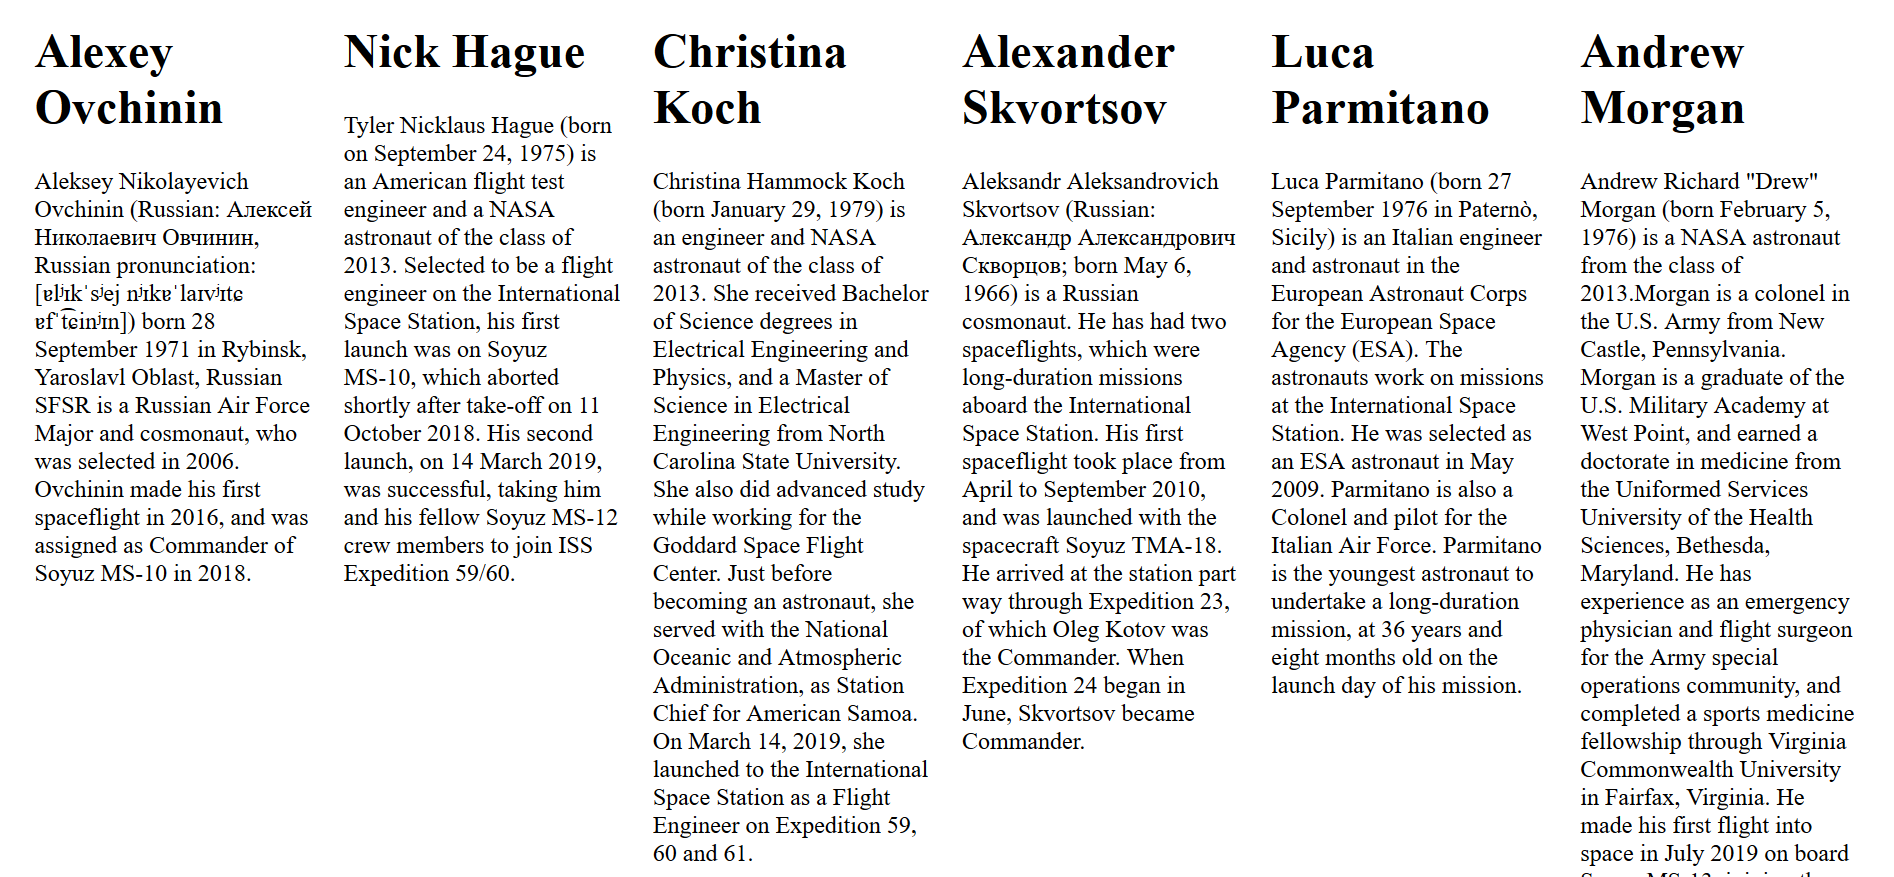
<img src="{{ Links[2] }}" alt="">The result of the images was looked like this:

As we can see the biography section of the website is coming to get her. The main issue is that some of the astronauts don’t have their portrait photo selected, mainly Nick Hague and Christina Koch.
I think I need to design custom solution images are picked from the infobox section. To do so I imported beautifulsoup to make I own custom scraper to scraper scrap the Wikipedia pages.
To get the URLs I used the Wikipedia package to return the links of the searched astronauts and then appended them to a list.
Link_of_page.append(wikipedia.page(every_person).url)After that I used the request library to retrieve the web page via HTTP:
hidden_page_results = requests.get(Link_of_page[2])
page_results = hidden_page_results.content
The .content attribute returns the html from the web so it can be used for the scraper im making.
With that I passed the page_results variable into the beautifulsoup function so the package can parse the code. Afterwards I made a variable containing all the HTML code in the Infocard where the portrait picture is located.
soup = BeautifulSoup(page_results, 'html.parser')
infocard = soup.find('infobox biography vcard')
Now borrowing some of the code I found from this GitHub gist I scraped the links in the infobox.
image_tags = soup.findAll('img')

for image_tag in image_tags:
    print(image_tag.get('src'))
Now, these are the print statements below:
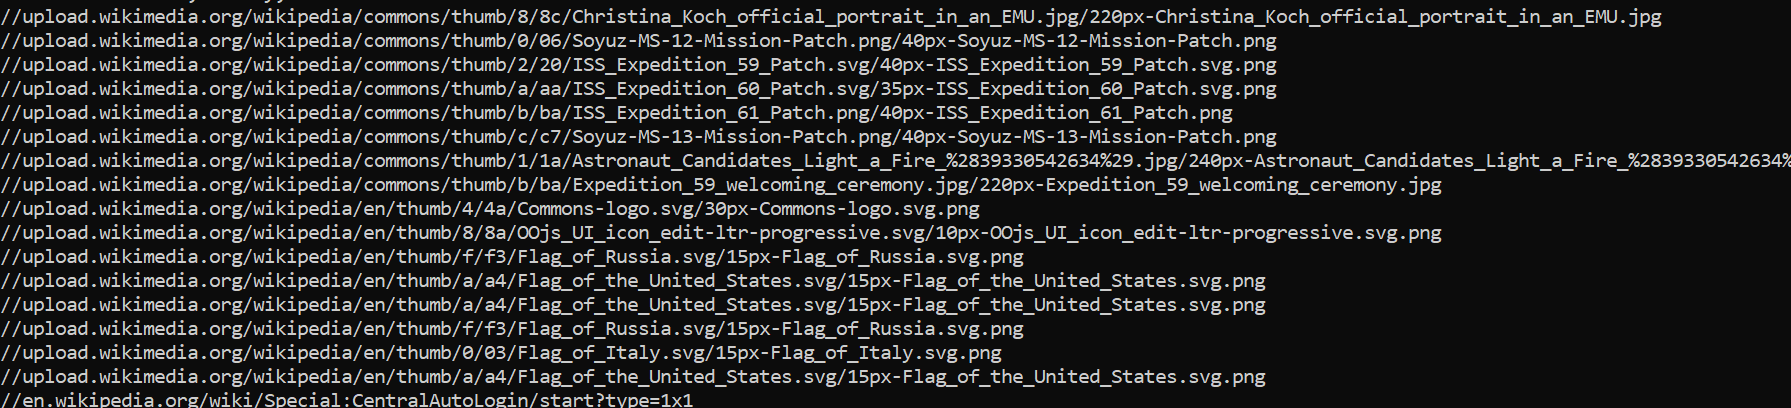
The code above only allowed one link so I will modify the code so it run through all links in the list.
The for loop I came with is this:
for every_link in Link_of_page:
    HTTP_results = requests.get(every_link)
    page_results = HTTP_results.content

    soup = BeautifulSoup(page_results, 'html.parser')
    infocard = soup.find('infobox biography vcard')
    image_tags = soup.findAll('img')

    links_image_tags = []
    for image_tag in image_tags:
        print(image_tag.get('src'))
        links_image_tags.append(image_tag.get('src'))

    links_for_images.append(links_image_tags[0])
The links_image_tags is used so I can receive the first image tag without collect all of the rest.
My results:

As we can see it was able to get most of the portraits but some captured useless images not relevant to the project.
The issue I later found out was I was not extracting the HTML properly. The previous code extracted all the images in the Wikipedia page, not the infobox section. Because of it captured the first image it all on the page similar to the previous code where I used the Wikipedia package to extract the images.
Before:
soup = BeautifulSoup(page_results, 'html.parser')
infocard = soup.find('infobox biography vcard')
image_tags = soup.findAll('img')
After:
soup = BeautifulSoup(page_results, 'html.parser')
infocard = soup.find('table', class_='infobox biography vcard')
image_tags = infocard.findAll('img')
Now running the flask application again I get the website looking like this:

Now all of the astronauts have their portrait showing we can starting styling up the website.
Using the bootstrap library I will the website more appealing. By changing the div tags to bootstrap approved tags like below:
<div class=".container-fluid">
      <div class="row">
        <div class="col border">
        <div class="col border">
        <div class="col border">
The result made the website more presentable see below:

Like I mentioned earlier I wanted to link the profiles of the astronauts to their Wikipedia pages so people can see more information about them. I simply added anchor tags within the header tags and imported the list containing the URLs of the pages.
<h1><a href="{{ Links_pages [0] }}">{  }</a></h1>
<h1><a href="{{ Links_pages [1] }}">{  }</a></h1>
<h1><a href="{{ Links_pages [2] }}">{  }</a></h1>
Also changing the header above the columns, the website looks like this:

The website is basically done. I think more details should be added to the website. Probably some text about where the International Space Station is. Ex the ISS is now in India, Right now it’s located in the Atlantic ocean. As it just shows the GPS location on google maps.
To get the text of where the ISS is located we need to go back where is originally JSON file is produced by the Google maps geocode API.
The Json file looks like this:
[{'address_components': [{'long_name': 'Indian Ocean', 'short_name': 'Indian Ocean', 'types': ['establishment', 'natural_feature']}], 'formatted_address': 'Indian Ocean', 'geometry': {'bounds': {'northeast': {'lat': 10.4186036, 'lng': 146.9166668}, 'southwest': {'lat': -71.4421996, 'lng': 13.0882271}}, 'location': {'lat': -33.137551, 'lng': 81.826172}, 'location_type': 'APPROXIMATE', 'viewport': {'northeast': {'lat': 10.4186036, 'lng': 146.9166668}, 'southwest': {'lat': -71.4421996, 'lng': 13.0882271}}}, 'place_id': 'ChIJH2p_crJNFxgRN5apY1C_1Oo', 'types': ['establishment', 'natural_feature']}]
We need to extract the address components in the JSON file as they contain the names of the given location. To do so ran this commard to collect the address_components information.
reverse_geocode_result[0]['address_components']And able to return something like this:
[{'long_name': 'Pacific Ocean', 'short_name': 'Pacific Ocean', 'types': ['establishment', 'natural_feature']}]
Now we have the names of the location we should extract them into a variable. I have chosen to extract the long name as it gives the user more information depending on the location.
Long_name = address_components[0]['long_name']Which prints out:
Pacific Ocean
Now we can use this variable in the HTML template. Importing the variable to app.py we assign the variable to a new variable:
Name_of_location = Long_nameAnd add it the render_template function:
return render_template('From_google.html', latitude=latitude, longitude=longitude, … Name_of_location=Name_of_location)The HTML code is below:
<h2 class="text-center">Location of the International Space Station is:</h2>
<h3 class="text-center">{  }</h3>
Now the website looks like this:

We still need to add more information like if the ISS is over a country, what area they are in the country, which state etc.
To do this I created an if statement which reads part of the JSON file to check if the location is not in any type of ocean, if not then the script will return the formatted address of the area instead.
address_components = reverse_geocode_result[0]['address_components']
Long_name = address_components[0]['long_name']